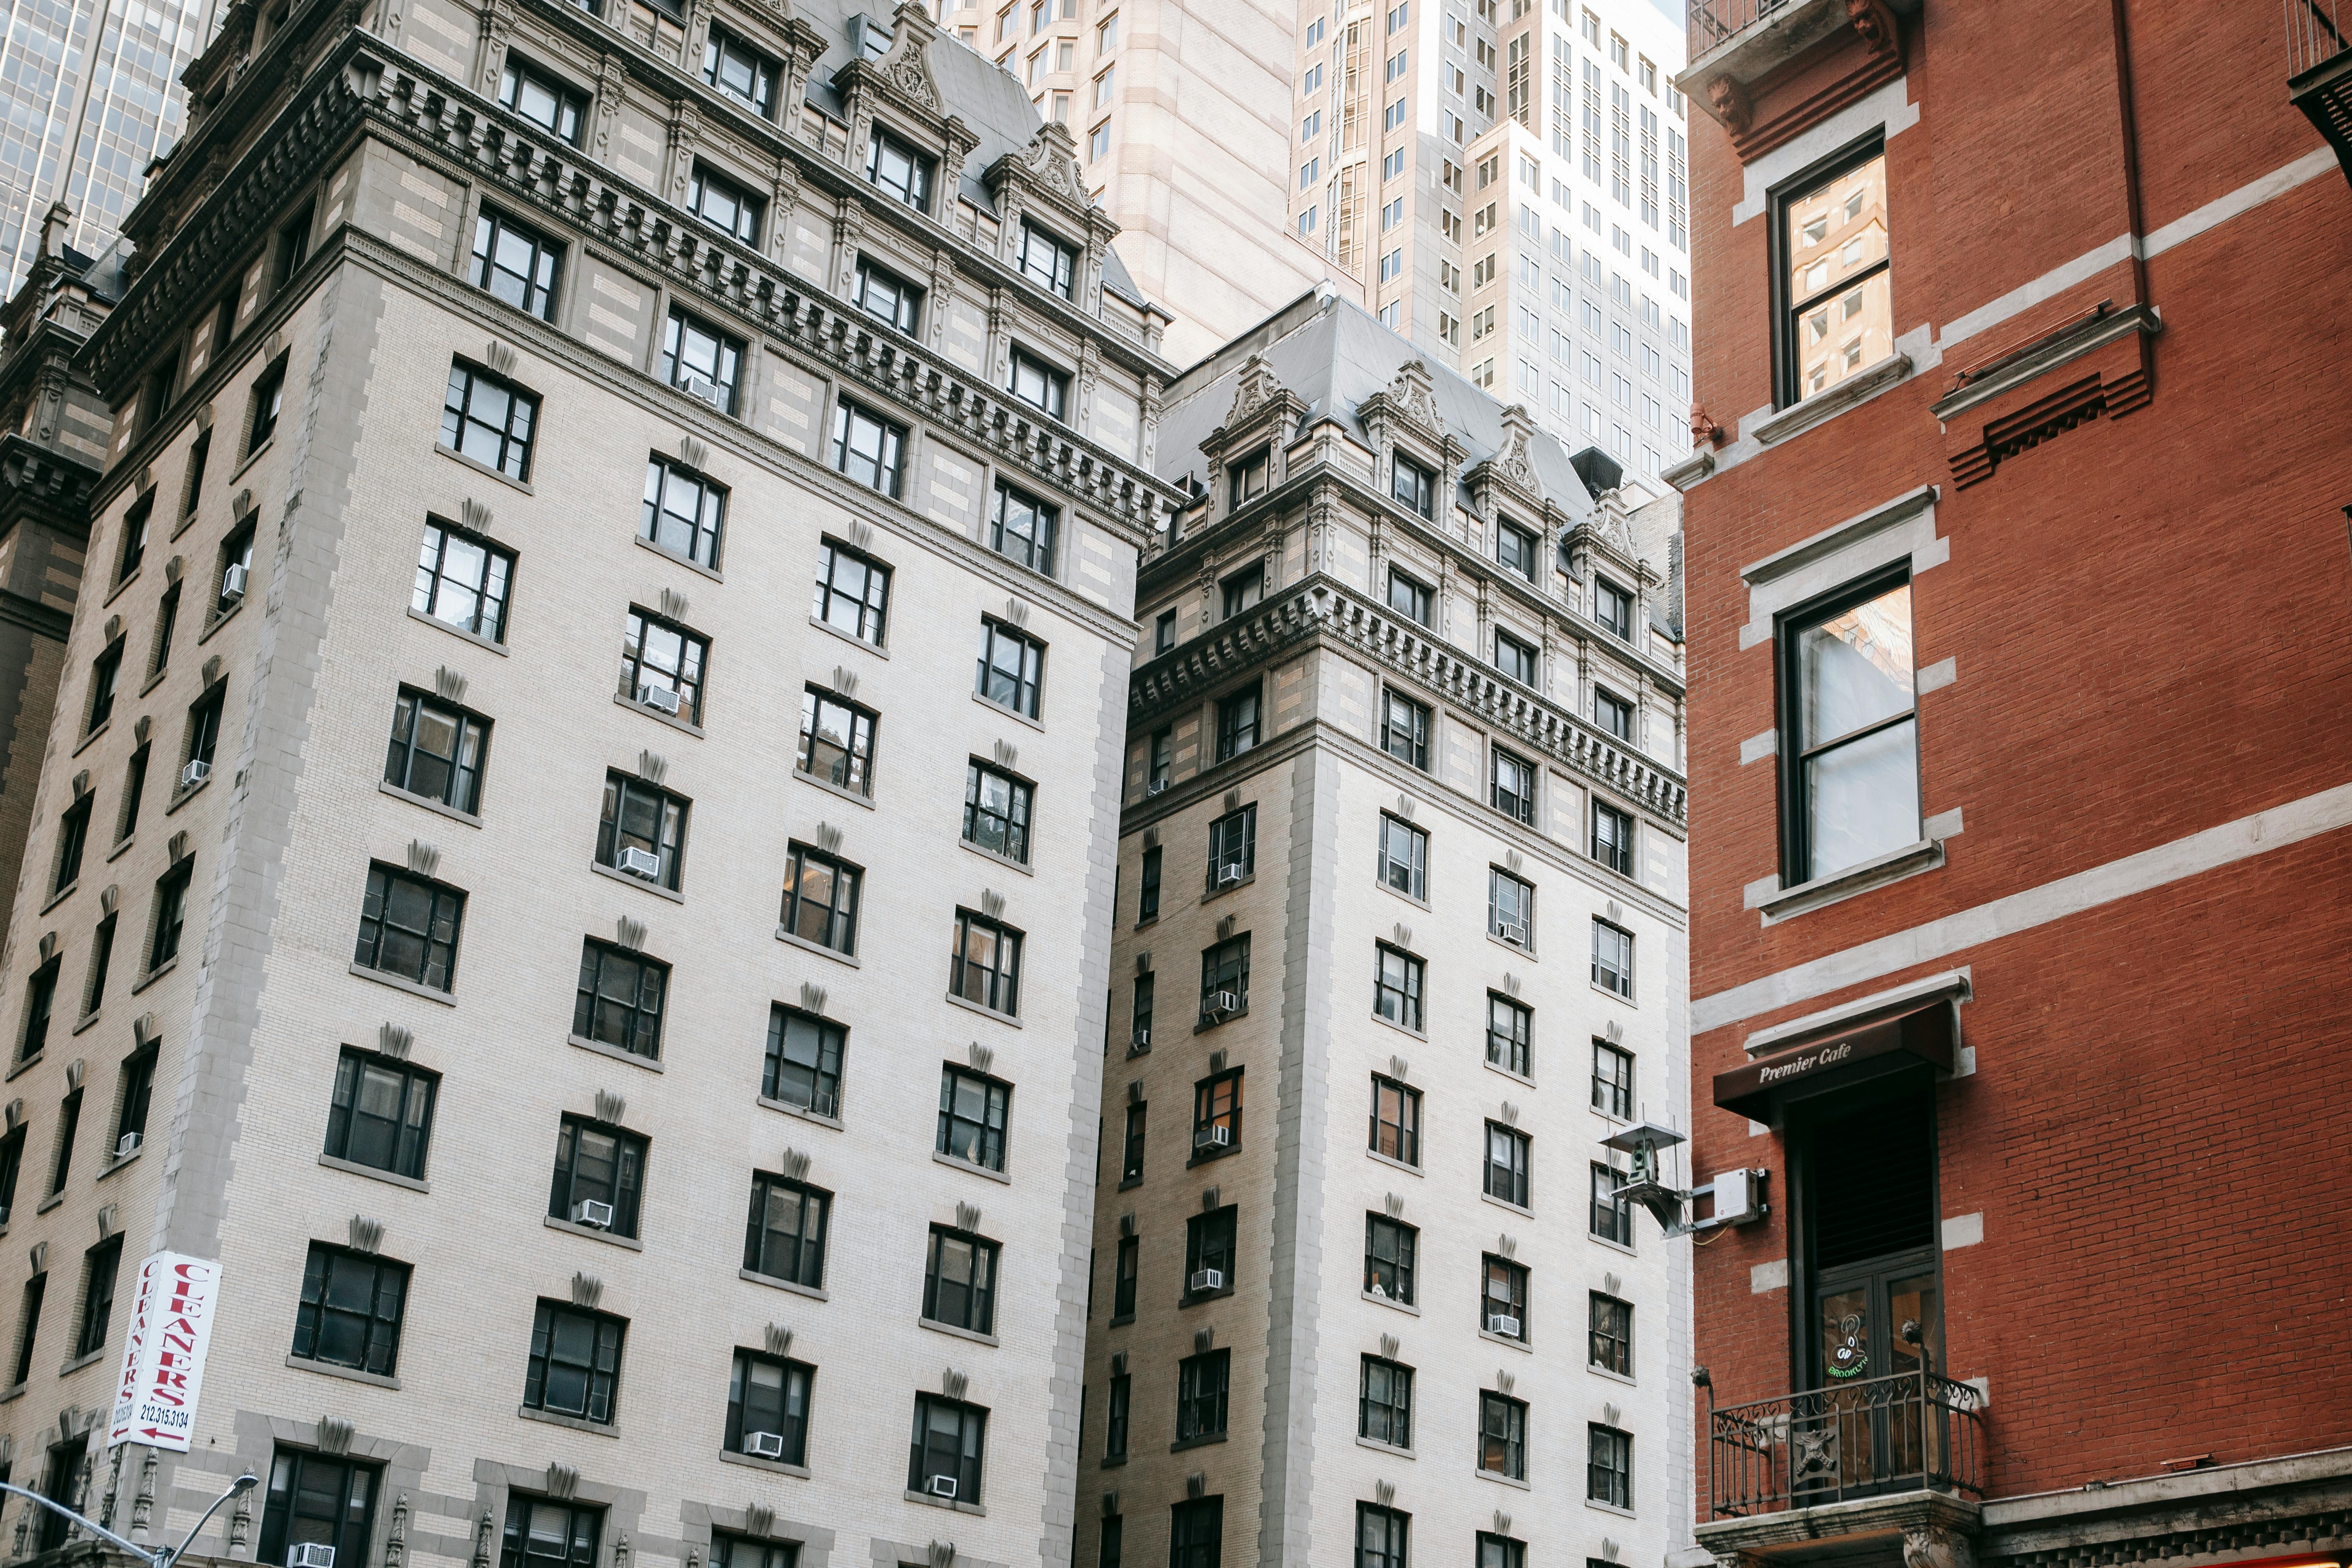
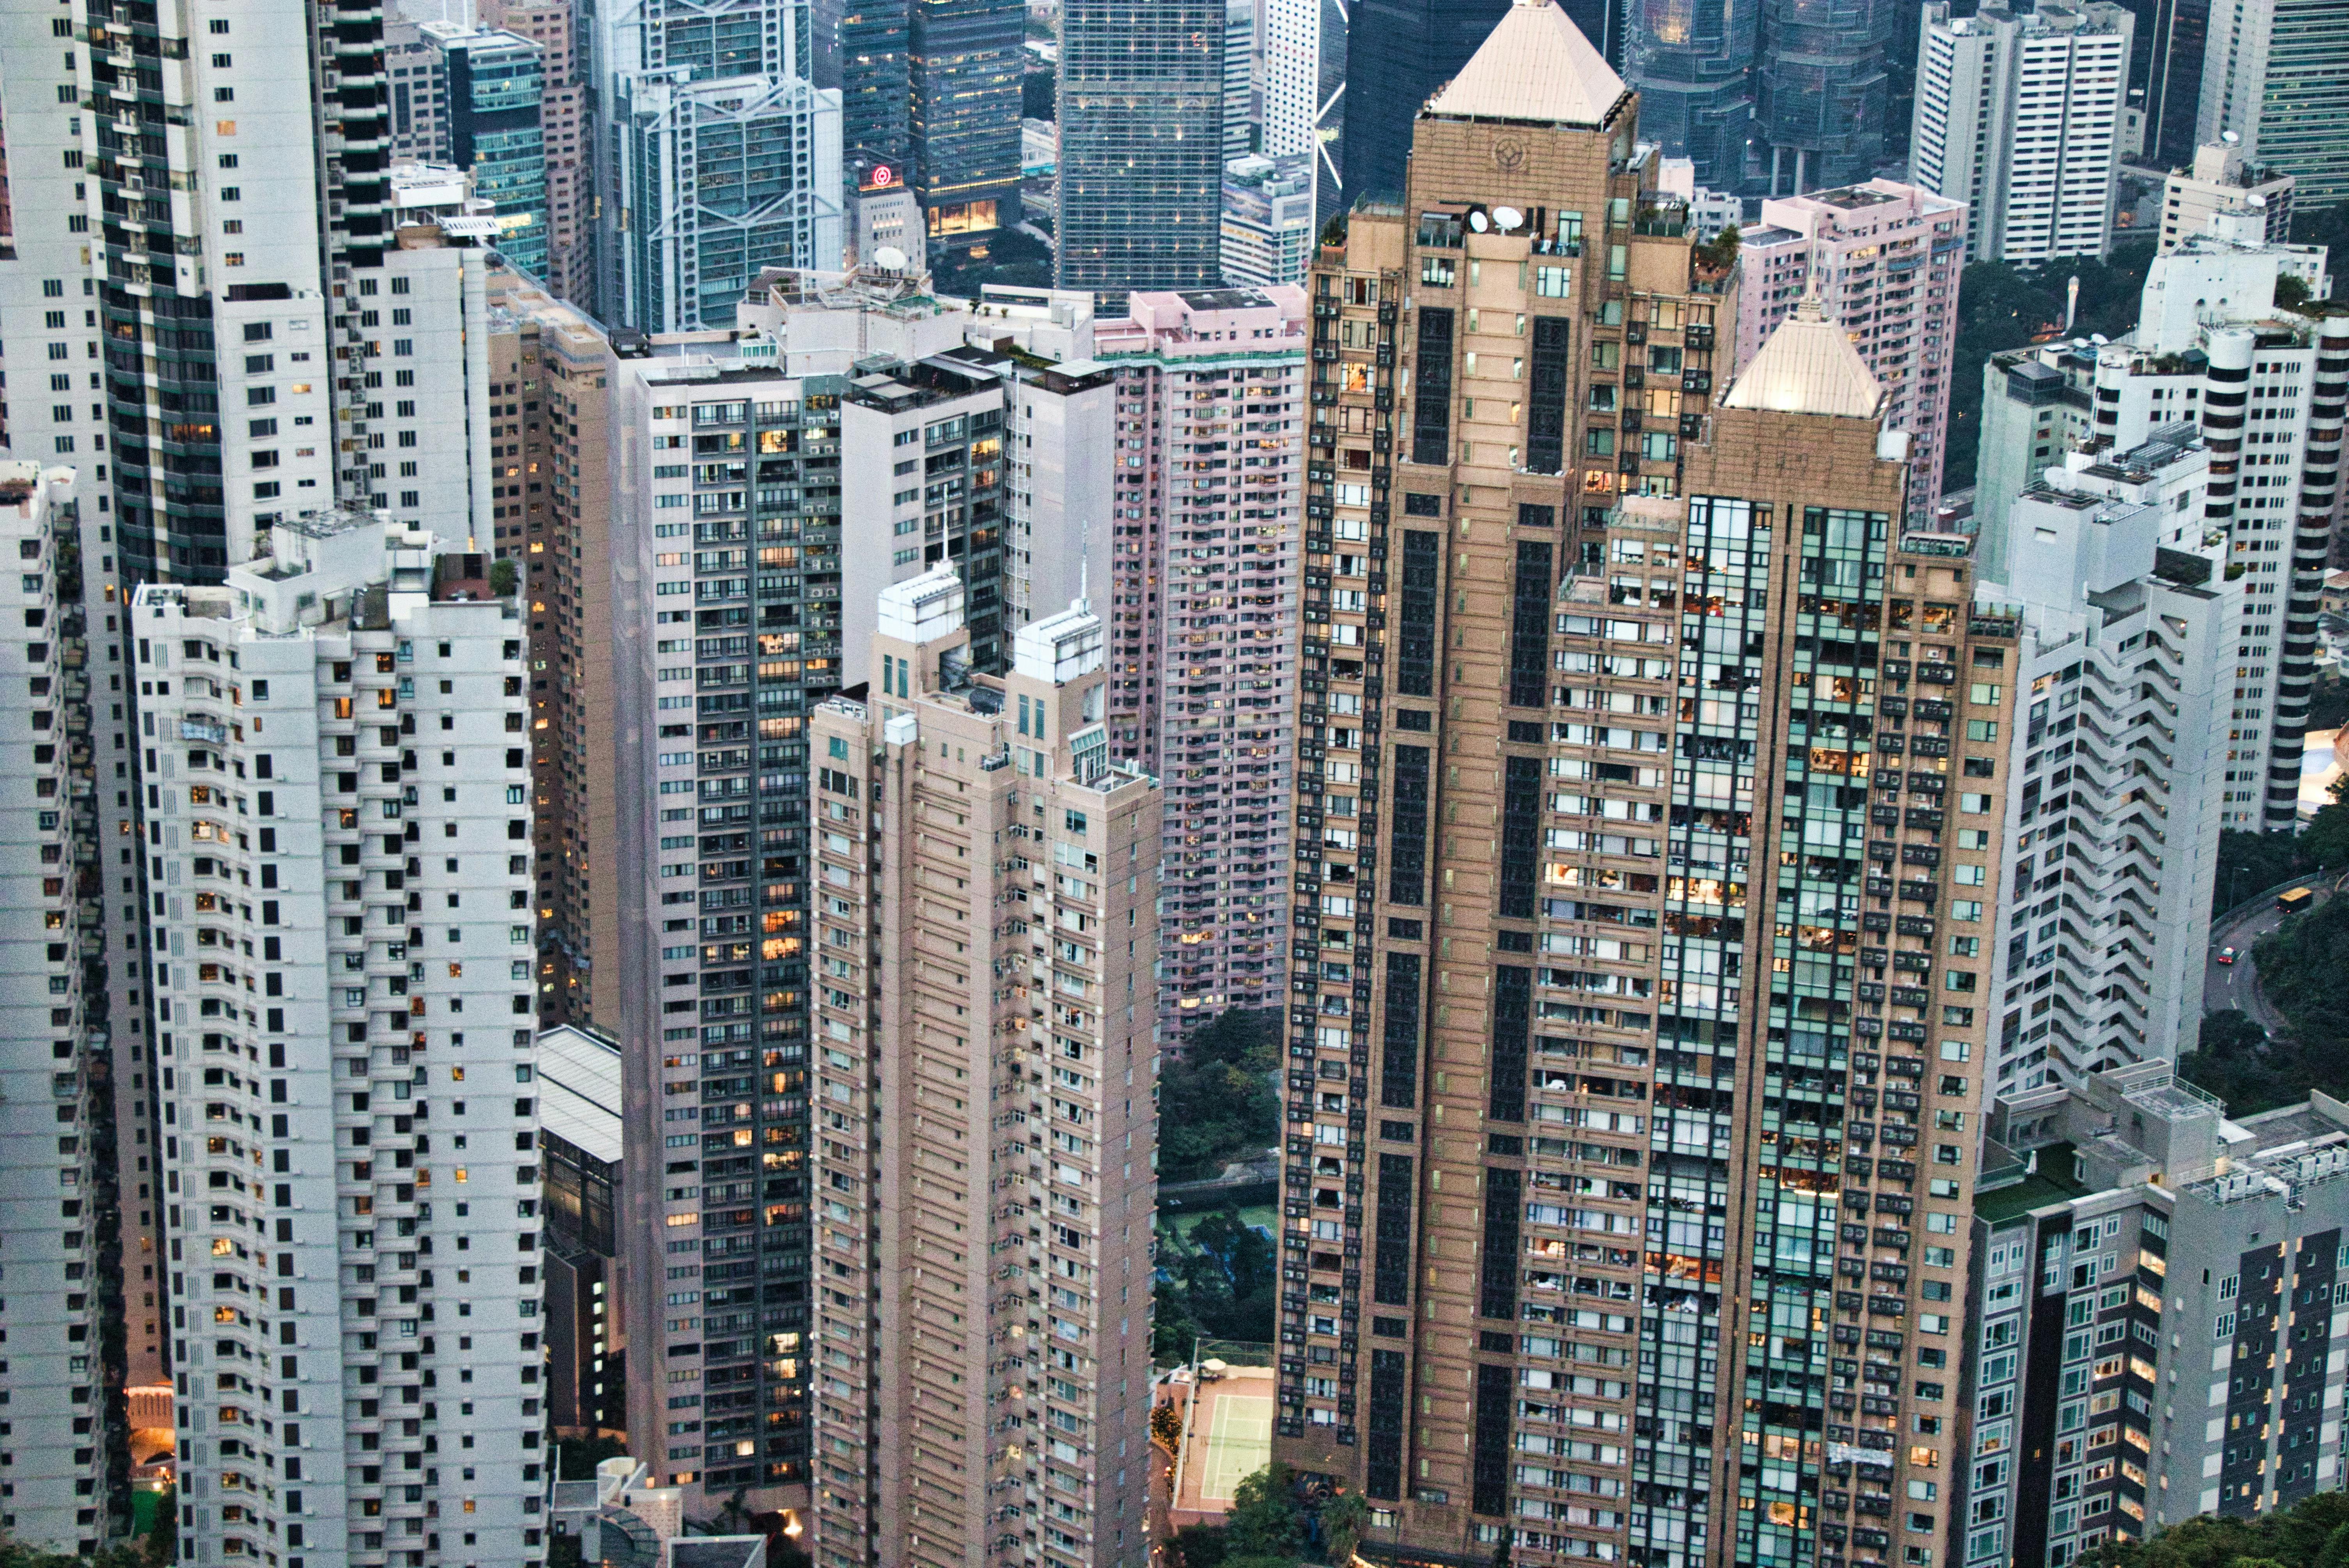
In Japan, the price of land is expensive and housing conditions in terms of rent and size are not good compared to other countries. Accommodation is a very serious problem even for the Japanese, especially in urban areas, which lack spacious and affordable housing.
1. Japanese rental housing
In Japan there are public and private housing. Apartments make up the majority of rental housing.
a) Public housing
Public housing is provided by official organizations such as prefectural, city and town governments, and housing supply corporations. Any non-Japanese who have a foreign registration can apply for this type of housing regardless of their nationality. There are two types of housing: Koei Jutaku (public housing) is for low-income people; and Tokutei Yuryo Chintai Jutaku (delux family home) and Kosha / Kodan Jutaku (Public Corporation housing) for those with middle class income.
These apartments offer a certain level of facilities at a relatively low rent. It is necessary to pay two or three months of rent as a deposit (security money) on your rent, but the key money that is necessary for private housing is not required.
However, qualifications, such as income, are accurately determined and only those who satisfy them can apply. Since there are many applicants, tenants are determined by lottery. After moving in, tenants must comply with usage regulations (that is, no one can live with tenants without permission). This type of housing is mainly apartments, which generally include kitchen, bathroom and oshiire (closet), with one to four rooms.
b) Private rental housing
Private rental housing is owned by individuals and private companies. The type varies in rent and size.
1. Aparto (Apartment)
These are primarily two-story buildings constructed of light steel, wood, or mortar, and house 4-8 households. Some of them share a toilet and / or do not have a bathroom.
2. Mansion (Apartment)
In Japan, the house that is larger than an Apartment and is built with reinforced concrete is called a Mansion. Isolation is better than an Apartment and privacy is better. Some have a concierge who lives on the first floor or others have an underground parking garage.
3. Single-family home
The single family homes have been recently designed using a mix of Japanese and Western styles. Some of them have a garden. There are several rental houses designed especially for non-Japanese people, but not many.
2. Typical size and floor plan
The area is indicated in square meters (m2), as well as in original Japanese units, “jo” and “tsubo”. A jo means a tatami mat and measures approximately 180cm x 90cm. (“Tatami” is a unique Japanese floor covering). A tsubo measures 182 cm x 182 cm or approximately 3.3m2 and is approximately equal to two jo. There are Japanese and Western style rooms. A Japanese-style room has a tatami mat and a Western-style room has a floor or carpet. Below is a typical floor plan of a Japanese home.
• K, DK, LDK – K means kitchen, D means dining room, and L means living room. K means just a kitchen and DK means a dining room plus kitchen, and LDK means a room that has the function of a living room, as well as a dining room and a kitchen. Therefore, 2DK means a house that has two rooms in addition to a room that has the function of kitchen and dining room.
• UB – UB means unit bathroom (unified formation bathroom), which includes bathtub, toilet and sink.
• Oshiire (closet): this means a storage space in a Japanese-style room.
• PS – This means a pipe space that contains drain pipes and wiring conduits.
• MB: this means the gas and water meter box.
One Bedroom Mansion Floor Plan (One Bedroom Apartments)
(Example) The facilities are compact and there is a room that can be used as a living room. The kitchen is very small, so it is not possible to cook elaborately. Some of them do not have space for a washing machine inside the room.
Single Family Home Floor Plan
(Example)
• Most single-family houses in modern Japan have Japanese and Western-style rooms.
• Some have a garden and parking space.
3. Customs relating to Japanese housing
some shoes – In Japanese homes, there is an area to remove your shoes before going up to the main entrance. The Japanese sit on the floor and sleep on a futon on the tatami, the traditional Japanese rugs, so it is not allowed to step on them with your shoes on. If you walk into a room with shoes on and dirty the rugs, you may have to pay for the repair costs.
b) Bathroom – In Japan, bathing is not only washing the body, but also an opportunity to relax while soaking in the bathtub. Recently, bathrooms consisting of a western-style bathtub with a toilet have become popular, but the traditional Japanese bath is separate from the toilet and has a space to wash the body outside the bathtub. The bathtubs are mainly made of plastic or stainless steel. If you live with a Japanese family, you should keep the water in the bathtub as clean as possible because the rest of the family will take turns using the water after you. Do not use soap in a Japanese-style bathtub. The water is heated mainly with gas.
c) Matte tatami – Tatami are a traditional straw floor covering sewn to make a mat about 5.5 cm thick and joined together with woven reeds. A tatami mat (jo) is also the unit used to indicate the size of a room. The new tatami is green and the tatami are changed every few years or every time they move house.
d) Futon (thick bedspread), bed and oshiire (wardrobe) – In a Japanese home, the futon usually folds out every night and folds into the oshiire every morning. During the day, the futon is stored inside the oshiire. In this way, a single room can be used for various purposes. If a bed is placed on the tatami mats, they are dented and damaged, so it is recommended to place boards under the legs of the bed.
e) City gas and propane gas – Electricity or gas is provided for the stove and bathroom. There are two types of gas: city gas (coal gas), which reaches each home from the gas company tanks, and propane gas, provided by distributors in the form of cylinders. City gas is managed by Tokyo Gas Co., Ltd. and propane gas is managed by individual distributors. Gas cookers, etc. must be supplied by tenants.
f) Water supply and drainage – Almost all areas of Kanagawa prefecture have water supply facilities. You can drink the tap water. In most cases there is a drain or a water purification tank. The drainage system is not suitable for disposal.
g) Toilet – The Japanese-style toilet has a lid (dome) at the front. When the bathroom is shared with other tenants, separate bath slippers must be used.
h) Air conditioning / heating – Some homes have air conditioning / heating, but in most cases, tenants have to buy theirs. Heating oil includes electricity, gas, and kerosene. Sometimes the use of kerosene is prohibited.
I) Fusuma and shoji – These are unique Japanese sliding doors to separate rooms. Fusuma is a wooden frame with fusuma paper glued on both sides. Shoji is a wooden lattice frame with shoji paper windows. It is possible to enlarge a room by removing fusuma to connect the rooms. The fusuma gluing needs to be done by a specialist, but when the shoji paper breaks, you can buy and repair it yourself.
4. Common problems and how to fix them
a) Take off your shoes – Do not enter a house with your shoes on. Make sure to remove your shoes at the entrance.
b) Deposit -Most rental-related problems have to do with the deposit. In Japan, when you rent a house, you must pay a deposit to the owner. This deposit is given to the owner of the house and is returned without interest when the lease is canceled. However, repair costs are deducted, so the deposit is generally not returned in full. Since the specific rental agreement is contained in the rental housing contract, check the contract thoroughly and do not break it. For other expenses when making a contract, see page 39.
c) Number of residents – The number of residents is confirmed when the contract is made. Additional residents are not allowed.
d) Noise – Don’t make loud noises late at night. In apartments, the sound resonates more than you think. Since the sound of running a large amount of water also annoys the neighbors, try not to open a bathroom or wash late at night.
e) Pets – There are hardly any apartments that allow pets other than small birds and goldfish. If you find one where you can keep pets, follow the rules.
f) Kitchen – If you cook with a large amount of oil, clean the area shortly after by cleaning the sink and cooking area. The ventilation fan should also be cleaned regularly.
g) Take out the trash – Garbage is collected by the municipal government. The collection point, date and method are determined in each area. There are areas where flammable garbage and non-flammable garbage must be separated. As for large trash items, there are areas where the collection date is already set, or you can sometimes arrange for them to be picked up. Check with your neighbors or the municipal government.
h) Long-term absence – When you are not at home for a long time, you need to notify the home owner. Rent must be paid even when you are away.
i) Room remodeling – If you want to remodel a room, for example by driving a nail to a pole or putting a hook on the wall to hold clothes, you should first check with the owner. It is assumed that you will leave the room in the state it was in when you rented it. If you remodel the room and it cannot be returned to its original condition, your deposit will not be returned or additional payments may be required.